
Build a Coaching Brand Photoshoot That Captures Your Unique Style and Attracts Clients
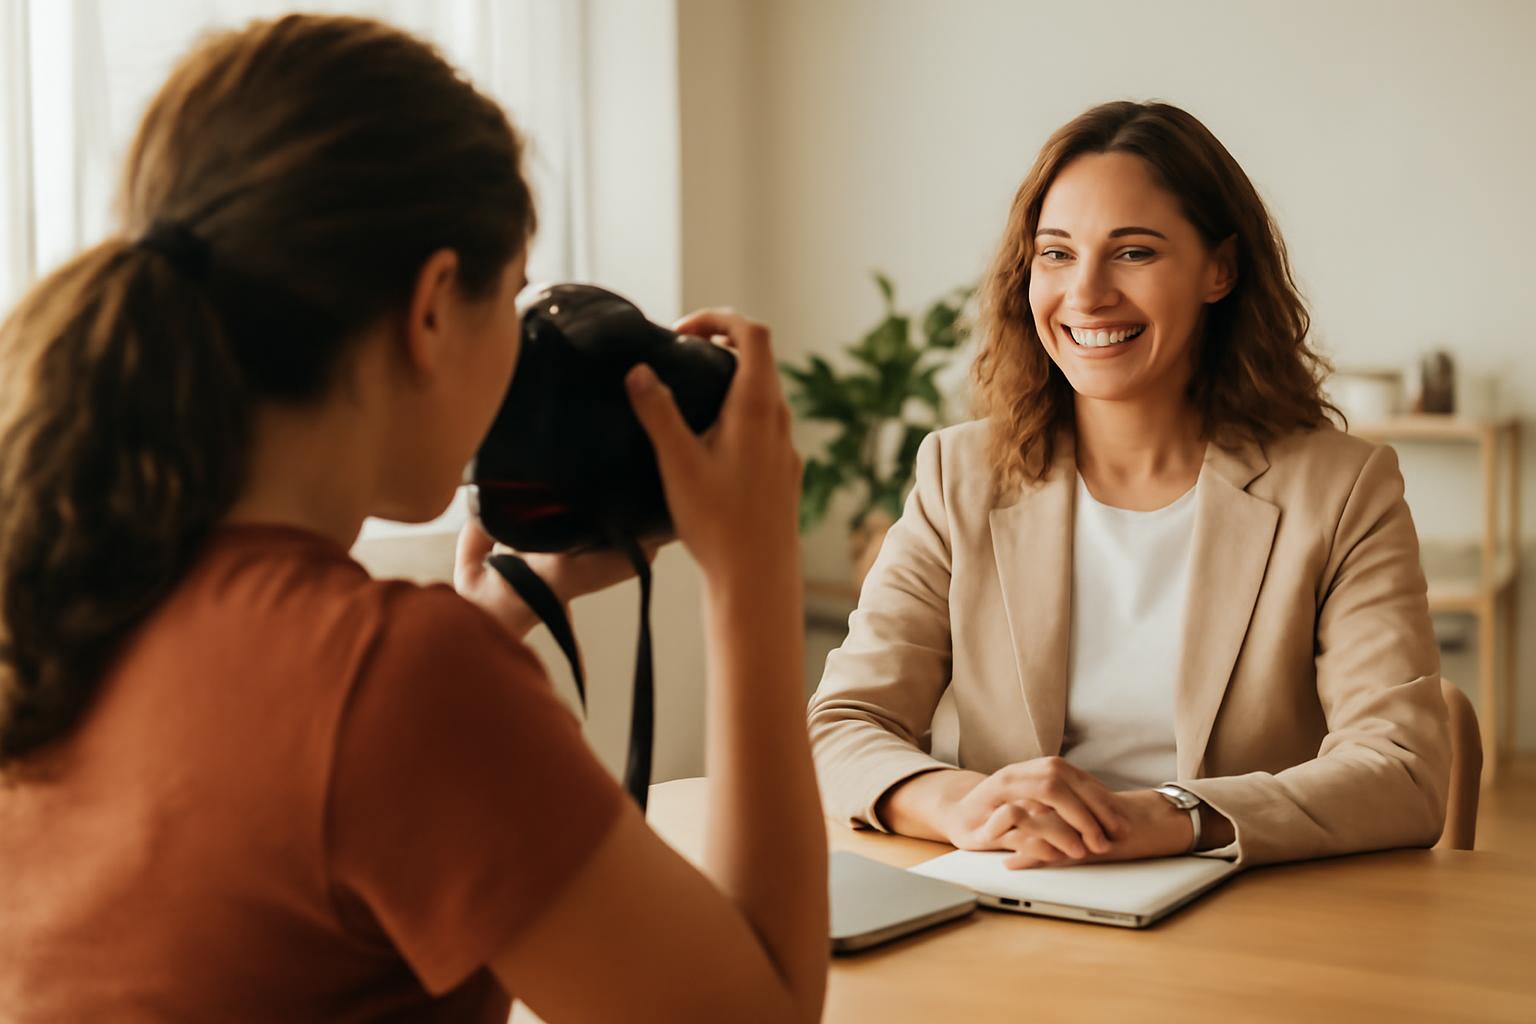
For a first shoot, aim for 2-4 outfits and 2-3 locations, adjusting the scope for session length and travel complexity.
A coaching photoshoot is not just a day to get a few flattering portraits. At its best, it is a planning process that turns your brand into a usable visual system.
If you are a coach, clients are not only evaluating your offer. They are deciding whether they trust your energy, your process, your point of view, and the way you hold space. That is why strong coaching photos need to do more than prove what you look like. They need to show what it feels like to work with you.
Done well, a coaching photoshoot gives you a reusable library of portraits, lifestyle images, working shots, and detail photos you can use across your website, social media, sales pages, lead magnets, speaker bios, and client materials. The easiest way to get there is to treat the shoot like a content strategy project: define the story first, choose the right photographer, plan the shot list, test outfits, and bring props and locations that actually reflect how you coach.
Why Your Coaching Business Needs a Brand Photoshoot
A basic headshot has a narrow job. It tells people what you look like. A branding session goes much further by showing your personality, your environment, and the values or storylines behind your work. Laura Mares describes headshots as simple, versatile portraits, while personal branding sessions are designed around multiple storylines and aspects of professional identity rather than a single plain-background image (Laura Mares).
That wider range matters because a coaching business rarely needs just one photo. You may need a homepage hero image with room for text, a vertical crop for Instagram, an About-page portrait, a casual image for email, and action shots that make your work feel real. In one life coach case study, Emily Kim photographed Tiffany Jeans not just for a profile image, but for website pages, PDFs and workbooks, social media, process shots, and brand video support (Emily Kim Photography).
A rituals or embodiment coach may need journaling, Zoom sessions, sound bowls, or outdoor moments that suggest reflection and practice. A fitness coach may need movement, equipment, sweat, and physical demonstration. In Tiffany Jeans’s session, the visual library included portraits, Zoom and recording setups, and props such as sound bowls, crystals, shells, and a book tied to her practice, which made the work feel specific rather than generic.
The same principle shows up in other niches. Fitness coach Jaelyn Israel’s branding session was created in a home gym with exercise images, outfit changes, and a more dramatic visual style to support a website update, social content, and digital fitness launches (Miranda Kelton Photography). That is the real value of a coaching photoshoot: it helps your audience understand not only who you are, but how you coach.
Choosing the Right Photographer for Your Coaching Photoshoot
The right photographer is not simply the person who takes pretty pictures. For a coaching photoshoot, you want someone who understands personal branding, can direct natural poses, and thinks in terms of business use instead of isolated portraits.
Start by looking for photographers who explicitly offer brand lifestyle, personal branding, or small-business branding sessions. Then study their portfolio through a coaching lens. Do people look relaxed or stiff? Do the images feel like distinct humans with a clear point of view, or could they belong to any service business? Can you imagine that photographer’s style working with your brand colors, tone, niche, and website layout? Geneviève Rochon, who designs websites for coaches, is especially clear that coaches usually need a personal brand photographer rather than a friend, relative, or generic corporate headshot setup, because the images have to support the website as a system (Geneviève Rochon).
Laura Quintero notes that labels like portrait, branding, lifestyle, and content creation vary by photographer, so a call is where you confirm what is actually included, how the workflow works, whether communication feels easy, and what usage terms apply (Laura Quintero). In practice, that means asking questions like these:
- Have you photographed coaches, consultants, therapists, or other service-based founders before?
- How do you direct people who feel awkward on camera?
- What planning happens before the shoot?
- Can you help me think about website headers, social crops, and mixed orientations?
- What business uses are covered by the license?
- How many outfits, scenes, or concepts fit in the session I am considering?
- Will you help me decide between a headshot session, a mini brand session, and a full brand session?
A useful photographer vetting checklist looks like this:
| What to check | What a good answer sounds like |
|---|---|
| Niche fit | They can show examples of founder-led or service-based brands |
| Direction style | They talk about prompts, movement, and coaching rather than “just be natural” |
| Planning | They mention mood boards, briefs, shot lists, or pre-shoot calls |
| Usage awareness | They understand website banners, vertical crops, ad use, and licensing |
| Visual fit | Their editing style matches your brand mood rather than fighting it |
| Communication | You feel clearer after the call, not more confused |
You do not need the most expensive photographer in your city. You do need one whose process matches your goals. A talented friend, wedding photographer, or portrait specialist may still be the wrong fit if they do not know how to plan for brand storytelling, website layouts, or commercial use. Comfort matters. Strategic competence matters more.
Step-by-Step Planning: Briefs, Mood Boards, and Shot Lists
Most disappointing brand shoots are not ruined by lighting.
Before you pick outfits or reserve a studio, decide what your images need to communicate in the first few seconds. Warm and grounded? Precise and strategic? Spiritual but structured? Athletic and no-nonsense? Premium and high-touch? That short list of adjectives becomes the filter for everything else.
Judith Hill recommends using a Pinterest board to gather the kinds of poses, styling, mood, and visual direction you respond to before the session, so the photographer can see the patterns you are drawn to rather than guess from abstract words alone. Use the board for inspiration, not duplication. The point is not to recreate somebody else’s brand image by image. It is to notice recurring signals: clean or layered, airy or moody, editorial or soft, minimal or textured.
Next, write a brief. Your photographer should not have to reverse-engineer the purpose of the shoot from your clothing rack. Rochon specifically recommends giving detailed instructions on image use, dimensions, mood, brand colors, and placements such as horizontal headers, profile-style variations, lifestyle scenes, and playful shots for a coaching website. A practical coaching photoshoot brief includes:
- your brand adjectives
- your audience and niche
- where the images will be used
- whether you need horizontal, vertical, or square crops
- must-have placements such as homepage hero, About page, speaker bio, or podcast guest page
- your brand colors and visual references
- props, rituals, tools, or processes that should appear
- no-go visuals you want to avoid
- any accessibility or comfort concerns
Here is a simple brief template you can copy into a document before your planning call:
| Section | What to include |
|---|---|
| Brand story | 3-5 words that describe your presence and approach |
| Audience | Who you want these images to resonate with |
| Offers | Signature coaching services, programs, workshops, or memberships |
| Uses | Website, social, lead magnets, speaker kit, email, PR |
| Visual direction | Mood board notes, preferred light, color, texture, level of polish |
| Must-have shots | Hero image, About portrait, working images, detail shots |
| Props and tools | What appears in real sessions or real content creation |
| Avoid | Any clichés, settings, poses, or colors you do not want |
Then build the shot list. Wholeheartedly Laura recommends creating the list in advance and organizing each shot by location, outfit, props, and styling so the day does not turn into improvised guesswork (Wholeheartedly Laura). For a coaching photoshoot, your first draft might include:
- clean headshot looking at camera
- wide homepage image with negative space for text
- profile or side-looking image for headers and banners
- seated About-page portrait
- working shots on a call, writing notes, recording content, reviewing a workbook, or demonstrating an exercise
- lifestyle images walking, reflecting, setting up a space, or transitioning between scenes
- close-up detail shots of hands, notebooks, tools, desk objects, books, or branded materials
- one or two slightly quirky signature images that feel memorable rather than corporate
A quick image-use map makes the list even sharper:
| Asset | Best image type |
|---|---|
| Homepage hero | Wide horizontal image with clean negative space |
| About page | Warm portrait, eye contact, seated or standing |
| Lead magnet cover | Vertical or square image with strong crop options |
| Vertical portraits, movement, detail shots | |
| LinkedIn or speaker bio | Clean headshot or simple environmental portrait |
| Sales page | Working shots, teaching frames, close details |
| Email marketing | Casual lifestyle image or cropped portrait |
A basic planning timeline helps too:
- 2-3 weeks before: write brief, confirm locations, shortlist props
- 1-2 weeks before: test outfits, take mirror or phone selfies, finalize shot list
- 2-3 days before: steam clothing, pack props, confirm logistics
- Shoot day: follow the plan, but leave enough flexibility for spontaneous frames
That level of prep is what turns a coaching photoshoot from “hopefully I get a few good ones” into a content library built on purpose.
Wardrobe and Styling Tips for Authentic Coaching Photos
Wardrobe should make you look like yourself on your best, most brand-aligned day. Not like a stranger in borrowed businesswear.
A good starting point is to plan more options than you expect to wear, test them in advance, and narrow down from there. Wholeheartedly Laura recommends trying on 3-5 outfits and using selfies to judge what actually photographs well before the shoot (Wholeheartedly Laura). That pre-test matters because an outfit that feels good in your closet can look flat, wrinkled, or oddly proportioned on camera.
Nicole Hodgson recommends an elevated daily uniform, a casual lifestyle look, and a signature or aspirational look; she also notes that 2-3 outfits are often ideal for a brand session unless your session scope is larger (Nicole Hodgson Photography). In practical terms:
-
Elevated daily wear What you would realistically wear for a client call, workshop, or strategy session, just slightly sharper.
-
Casual lifestyle look A softer version of your brand for behind-the-scenes content, warmer website sections, or social posts.
-
Signature or aspirational look The outfit that most clearly communicates your taste, niche, or premium positioning.
When choosing actual pieces, prioritize fit, comfort, and clarity. Ian Koby’s headshot guidance is useful here even outside the studio: choose fitted, comfortable clothing, plan wardrobe decisions in advance, keep accessories minimal, and let your face stay the focus. Solid colors and subtle patterns are usually easier to work with than loud prints. Layers such as blazers, cardigans, jackets, or overshirts create fast variety. Coordinate your outfits with the location so you do not disappear into the background.
A few wardrobe rules that usually help:
- choose fabrics that move well and hold shape
- avoid pieces that pull, bunch, or require constant adjustment
- bring one backup top in case a favorite option feels wrong on camera
- steam everything the night before
- keep jewelry simple unless an accessory is part of your signature style
- make sure shoes make sense with the full outfit, even if they are not the focus
Hair and makeup should follow the same test as clothing: do you look like a refined version of yourself, or like somebody else entirely? If professional styling helps you feel polished and consistent, use it. If self-styling makes you look more recognizably like you, that may be the better choice. The goal is confidence without costume.
Props, Locations, and Shot Types for Coaching Brands
Use props to support a believable story, not to perform “entrepreneur” in the abstract. A random mug and open laptop say very little. A marked-up workbook, journal, deck of cards, yoga mat, podcast mic, resistance bands, whiteboard, or client notes can say a lot more if those are real parts of your process. Tiffany Jeans’s shoot is a good example: the props were specific to her coaching style and included sound bowls, crystals, shells, a harmonium, and a book that reflected her rituals-based approach.
A useful anti-cliché prop audit is simple. Before you pack anything, ask:
- Would a real client actually see this?
- Does this object say something specific about my method?
- Is it part of how I coach, teach, record, or prepare?
- Could this image belong to ten other coaches with no changes?
If the answer to the last question is yes, the prop may be too generic.
Locations should work the same way. Capturely recommends planning around 2-3 locations that support your story and covering a mix of headshots, action shots, lifestyle portraits, and detail images in the session (Capturely). For coaches, that might mean:
- a home office for intimacy and focus
- a bright studio for polish
- a gym for movement and expertise
- an outdoor path, park, or beach for grounded wellness or reflective work
- a couch, workshop room, or recording setup for softer or more conversational imagery
A well-rounded coaching content library usually includes four image types:
- Headshots: clean portraits for profiles, bios, podcast guest pages, and speaker materials
- Action shots: teaching, writing, demonstrating, recording, moving, or reviewing materials
- Lifestyle portraits: relaxed images that show presence and personality
- Detail shots: hands, notebooks, desk objects, books, tools, textures, or branded materials
If you capture all four, you have much more flexibility when you build pages, launch offers, or post consistently.
Posing, Shoot Day Prep, and Avoiding Common Mistakes
Most coaches do not need to learn how to model. They need a few reliable posing mechanics and a photographer who can direct clearly.
One of the simplest posing rules is: if it bends, bend it. Darlene Hildebrandt recommends bending joints, shifting weight, and creating triangles with arms and legs to avoid stiff, flat portraits. In practice, that means soft elbows instead of locked arms, weight on one leg instead of standing square, and slightly angled shapes instead of a straight-on passport stance.
Good photographers often demonstrate a pose, let you mirror it, and then adjust it until it still feels like you. You are allowed to ask for direction. In fact, you should.
A few easy adjustments improve a surprising number of frames:
- drop the shoulders
- separate the arms slightly from the torso
- shift the chin forward a touch instead of tucking it down
- turn the body a little off-center
- give the hands a job: hold a notebook, adjust a sleeve, tuck hair, sit, walk, gesture
Prep matters too. Ian Koby recommends building trust before the session, deciding wardrobe in advance, steaming clothes the night before, and getting haircuts 3-5 days before the shoot rather than immediately before it (Ian Koby). For a coaching photoshoot, add a few more practical steps:
- pack water and snacks
- bring a lint roller, safety pins, and backup accessories
- silence notifications unless the phone is being used as a prop
- leave extra travel time so you do not arrive flustered
- reduce avoidable distractions if you are shooting at home
- start with your easiest outfit or scene to warm up
The biggest mistakes are usually subtle. Stiff arms. Hands pressed flat against the body. Clothes that bunch when seated. Patterns that pull attention away from your face. Scenes that feel like “business person at laptop” theater instead of real work. The goal is not perfect elegance. It is credibility.
Headshots vs. Branding Sessions: Full, Mini, or DIY Options
Not every coach needs the same kind of session.
If your immediate need is narrow, such as a LinkedIn image, press mention, directory listing, or speaker headshot, a standard headshot may be enough. If you need website photography, social content, launch assets, email images, and a broader visual system, branding is usually the better fit. That difference is the core distinction Laura Mares makes between headshots and branding sessions: one is focused and simple, the other is designed to communicate an experience and a set of values.
The next question is scope. That leads to a practical framework:
- Headshot session: best when you need one polished identity image
- Mini branding session: best for a refresh, seasonal update, or testing a new direction
- Full branding session: best for a new website, rebrand, major launch, or first deep content library
- DIY shoot: best when budget is tight and you need a workable starting point now
DIY can be a legitimate bridge option. Michelle Leotta’s health-coach guidance includes a $0 approach built around a phone camera, outdoor golden-hour light, a shot list, and simple planning, while also noting example paid ranges from roughly $500-$2,000 for a mid-range shoot and $5,000+ for a high-end production (Health Coach Power).
One thing is non-negotiable regardless of session type: if the images are for business marketing, clarify usage rights before you book. Do not assume every portrait package automatically covers commercial use just because the subject is you.
After the shoot, treat your files like business assets, not random camera-roll favorites. Create folders by orientation and use case, note which images work for headers versus square crops, and export a short “starter set” first so you can update your homepage, About page, profile images, and social channels quickly. That small post-shoot system is often what turns a good session into months of easier content publishing.
A good coaching photoshoot does not need to be extravagant. It needs to be intentional. When the story, photographer, wardrobe, props, and shot plan all align, you end up with images that feel believable, flexible, and actually usable.
How much does a coaching photoshoot cost?
There is no single market-wide price because packages vary by city, photographer experience, session length, number of locations, styling support, and image count. Capturely’s overview reports a very broad range of roughly $300 to $10,000+ for personal branding sessions, along with session lengths from 1-8 hours and different deliverable counts, so it is best read as an example of market spread rather than a universal benchmark (Capturely).
A narrower coaching-specific example comes from Michelle Leotta’s health-coach guidance: about $500-$2,000 for a mid-range shoot, $5,000+ for a high-end production, and a $0 DIY option using a phone and outdoor light (Health Coach Power). Treat those as illustrative package examples, not guaranteed local pricing.
What are common clichés to avoid in coaching photos?
The biggest cliché is using props or scenes that do not actually belong to your process. Wholeheartedly Laura specifically warns against defaulting to generic entrepreneur imagery like the MacBook-and-coffee setup instead of building a visual story that reflects the coach’s real work.
A simple fix is to replace vague productivity theater with real actions: open the worksheet you actually use, write the framework you teach, demonstrate the exercise you assign, show the recording setup you use for content, or shoot in the space where clients really meet you.
How many outfits and locations for a first coaching shoot?
For a first coaching photoshoot, a practical target is usually 2-4 outfits and 2-3 locations, depending on session length and travel complexity.
If you are booking a mini, stay tighter. If you are booking a fuller branding session, you can stretch further. But in either case, fewer strong choices beat a larger pile of uncertain ones.
Do I need professional hair and makeup?
Not always. If professional hair and makeup helps you feel polished, consistent, and less stressed on shoot day, it can be worth it. If self-styling makes you look more recognizably like yourself, that can be the better choice. Wholeheartedly Laura’s planning advice effectively uses authenticity as the test: decide whether professional styling supports your brand or makes you feel unlike yourself.
If you do book styling, aim for refined rather than dramatic. If you do it yourself, plan it in advance and make sure it holds up cleanly on camera.
What licensing do I need for marketing photos?
Laura Quintero notes that portrait or lifestyle sessions may be personal-use only, while branding sessions are typically structured for commercial use, though terms still vary by photographer and by contract.
Also ask whether your license covers only your own channels or extends to uses like collaborations, paid partnerships, or other third-party promotions. Sarah Beau says her branding packages include commercial use for the client’s own marketing, while collaborations and paid partnerships may require additional licensing. Ask specifically about websites, social media, ads, podcast artwork, book covers, PR placements, and partner campaigns so nothing is left to assumption.